PISO Wi-Fi provides an affordable and accessible internet connection for households that cannot be reached by traditional internet service providers. While the PISO Wi-Fi business has seen widespread success, it has also encountered certain challenges.
One of the most prevalent issues arises when using a less expensive Single Board Computer (SBC) is its processing capabilities struggle to keep up when numerous users are connected to the PISO Wi-Fi Network. To alleviate the issue, PISO Wi-Fi builders can opt for a more powerful SBC, as it not only offers improved processing power but also facilitates higher internet speeds, thanks to its Gigabit Ethernet port.
The Raspberry Pi 4B SBC stands out as an ideal device for the high-traffic PISO Wi-Fi network. With its Broadcom BCM2711 Quad-core Cortex-A72 processor, it can effectively manage over 50 simultaneous users.
Goal
- How to properly handle SBC Boards
- Utilize the Raspberry Pi 4B with PISO Wi-Fi peripherals
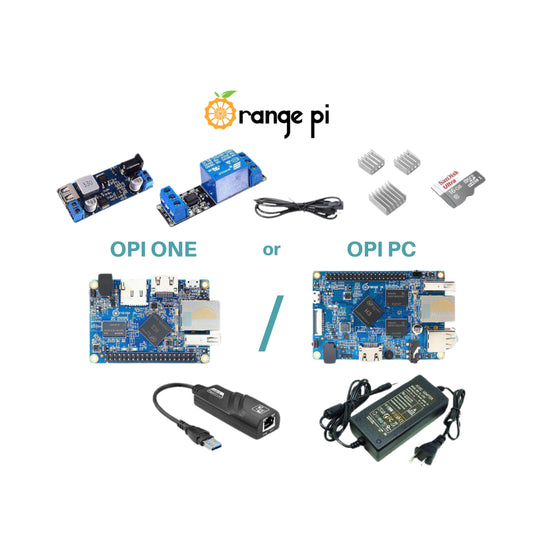
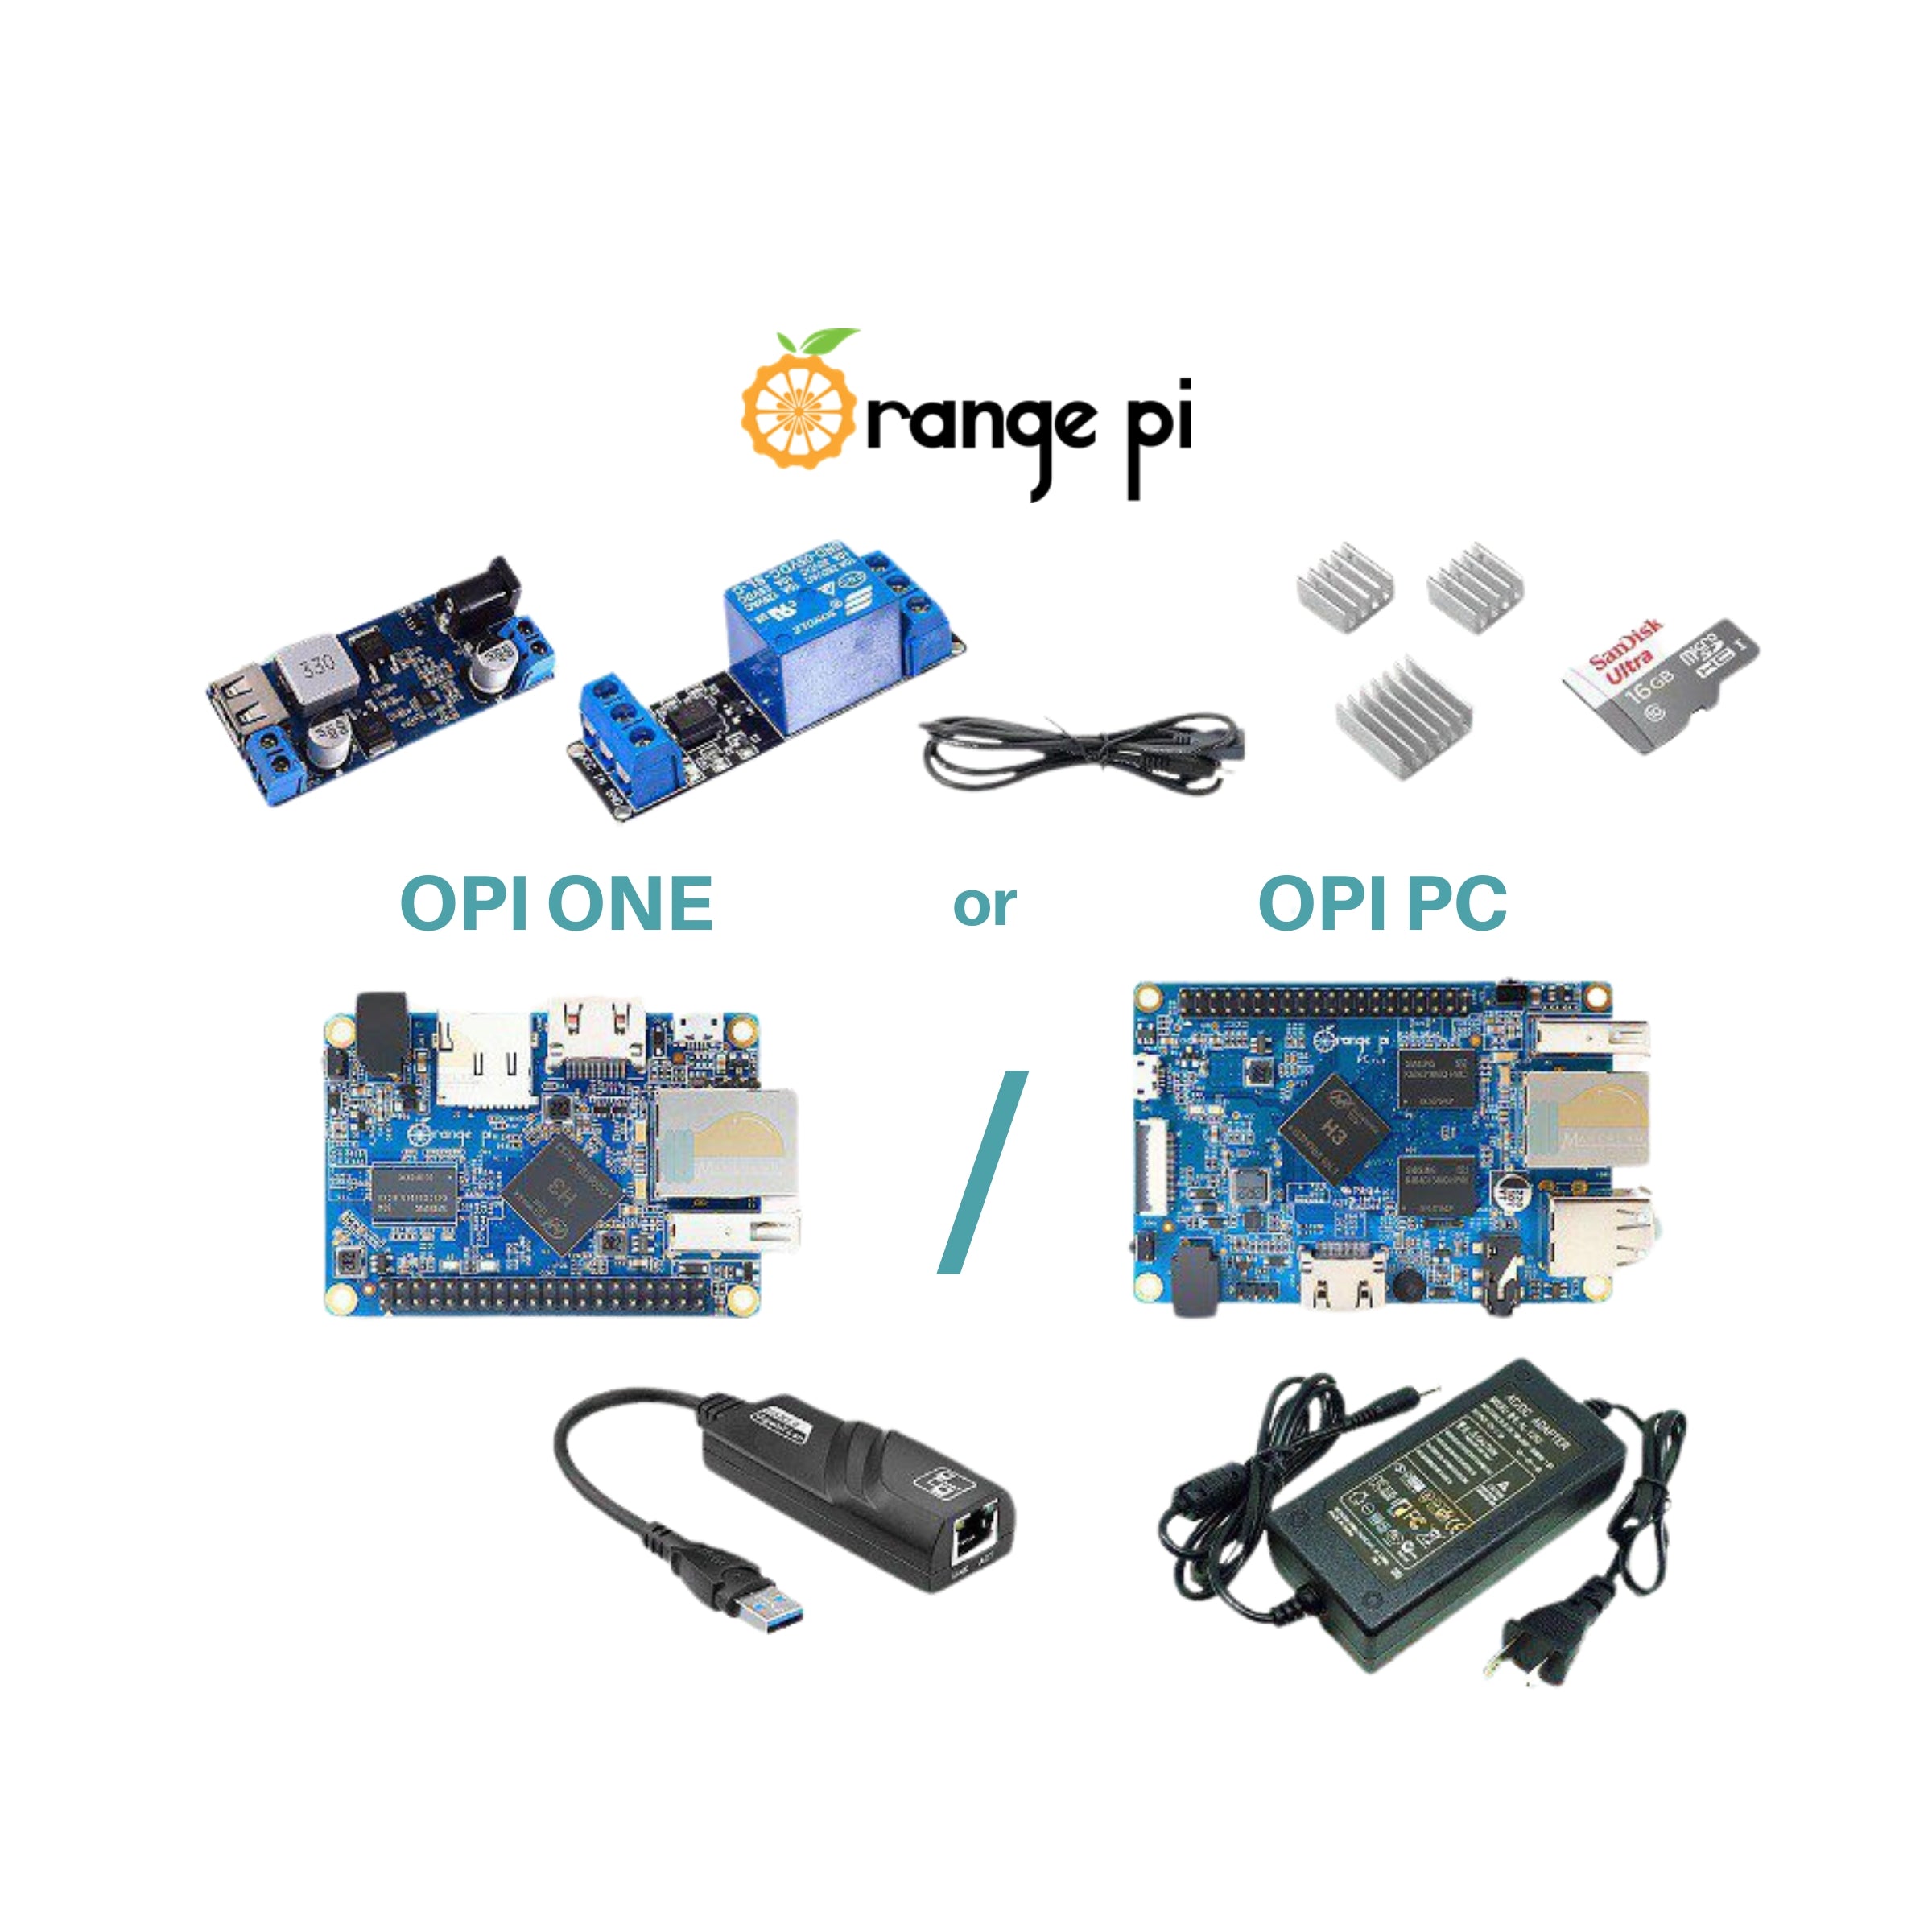
Hardware List


Software List
- Raspberry Pi Imager
-
PisoFi 4.8.7 OS (or latest)
Building the PISO Wi-Fi Hardware
Warning!
Raspberry Pi boards are equipped with a polyfused designed to safeguard the GPIO pins against overcurrent. However, it's important to note that this polyfused doesn't provide protection against overvoltage. If you accidentally short the pins or connect the wrong pins to the GPIO, it could potentially result in damage to your board and could also void the warranty.
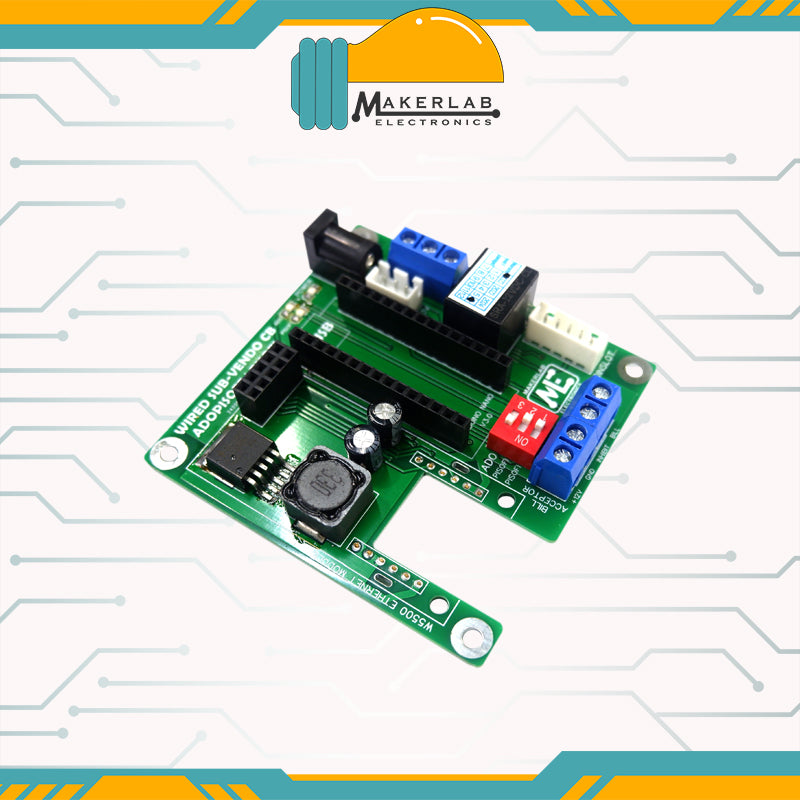
I. Wiring the Coinslot to the Fuxion Board
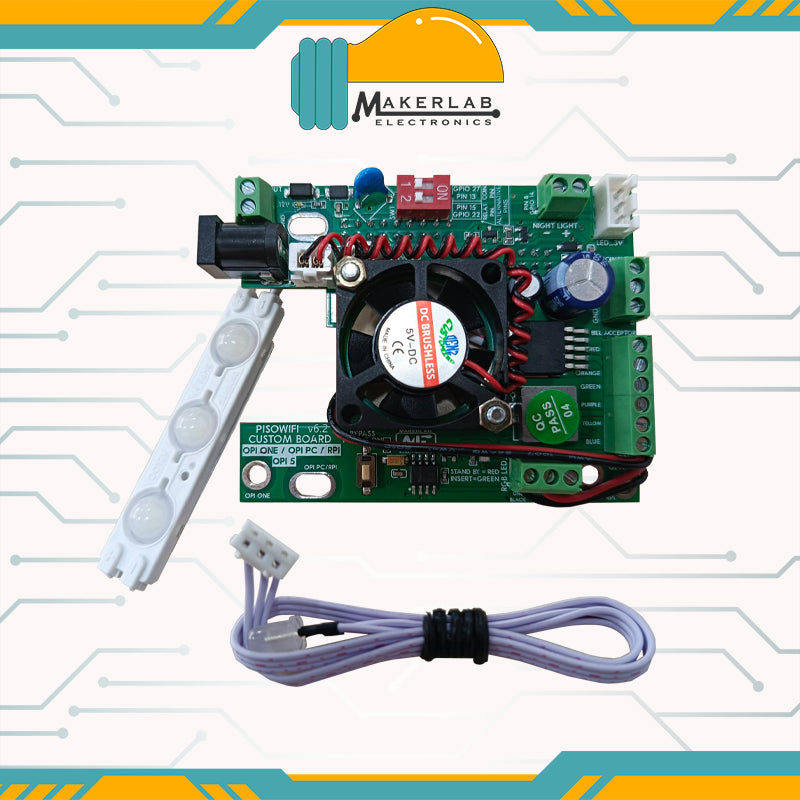
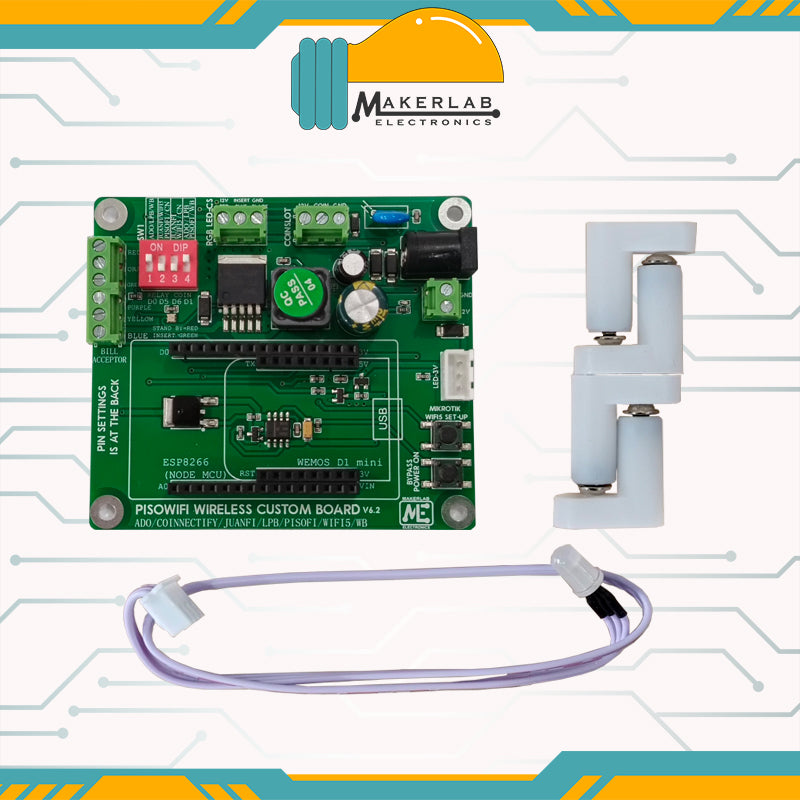
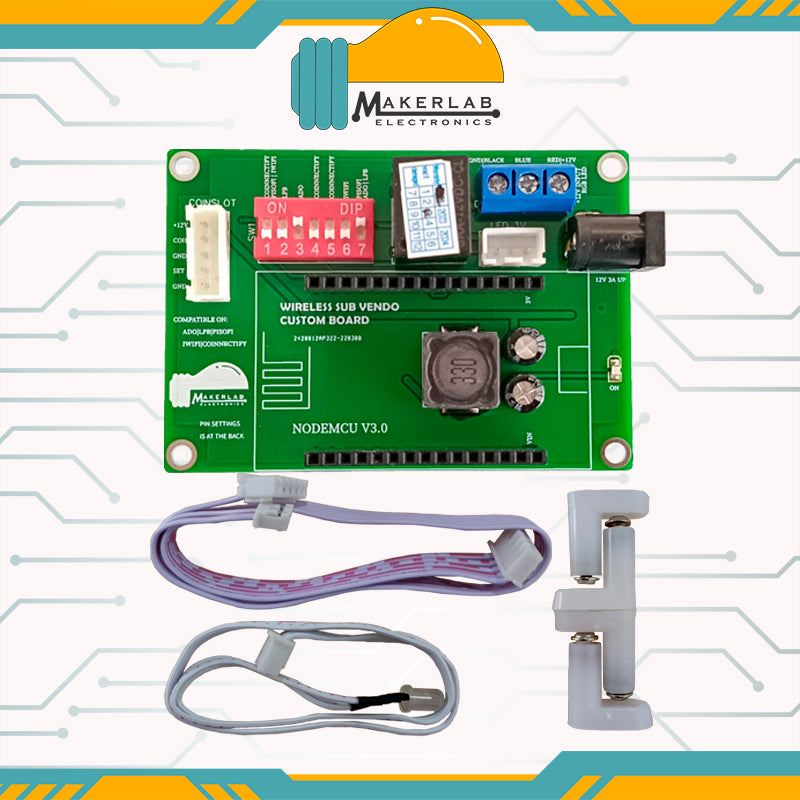
The ALLAN 1239 Pro Max Coinslot comes with specialized wires that are designed to be compatible with the Fuxion Universal Custom Board. Start by attaching the color-coded wires from the ALLAN 1239 Pro Max Coinslot to the corresponding labels on the Fuxion Universal Custom Board, as follows:
Attach the JST Connector to the ALLAN 1239 Pro Max Coinslot by aligning it with the corresponding pins. Ensure that the RED wire is correctly positioned to match with the DC12V pin.
II. Interfacing the Fuxion Board to Raspberry Pi 4B
With the coin slot now successfully connected to the custom board, our next step is to establish a connection between the custom board and the Raspberry Pi.
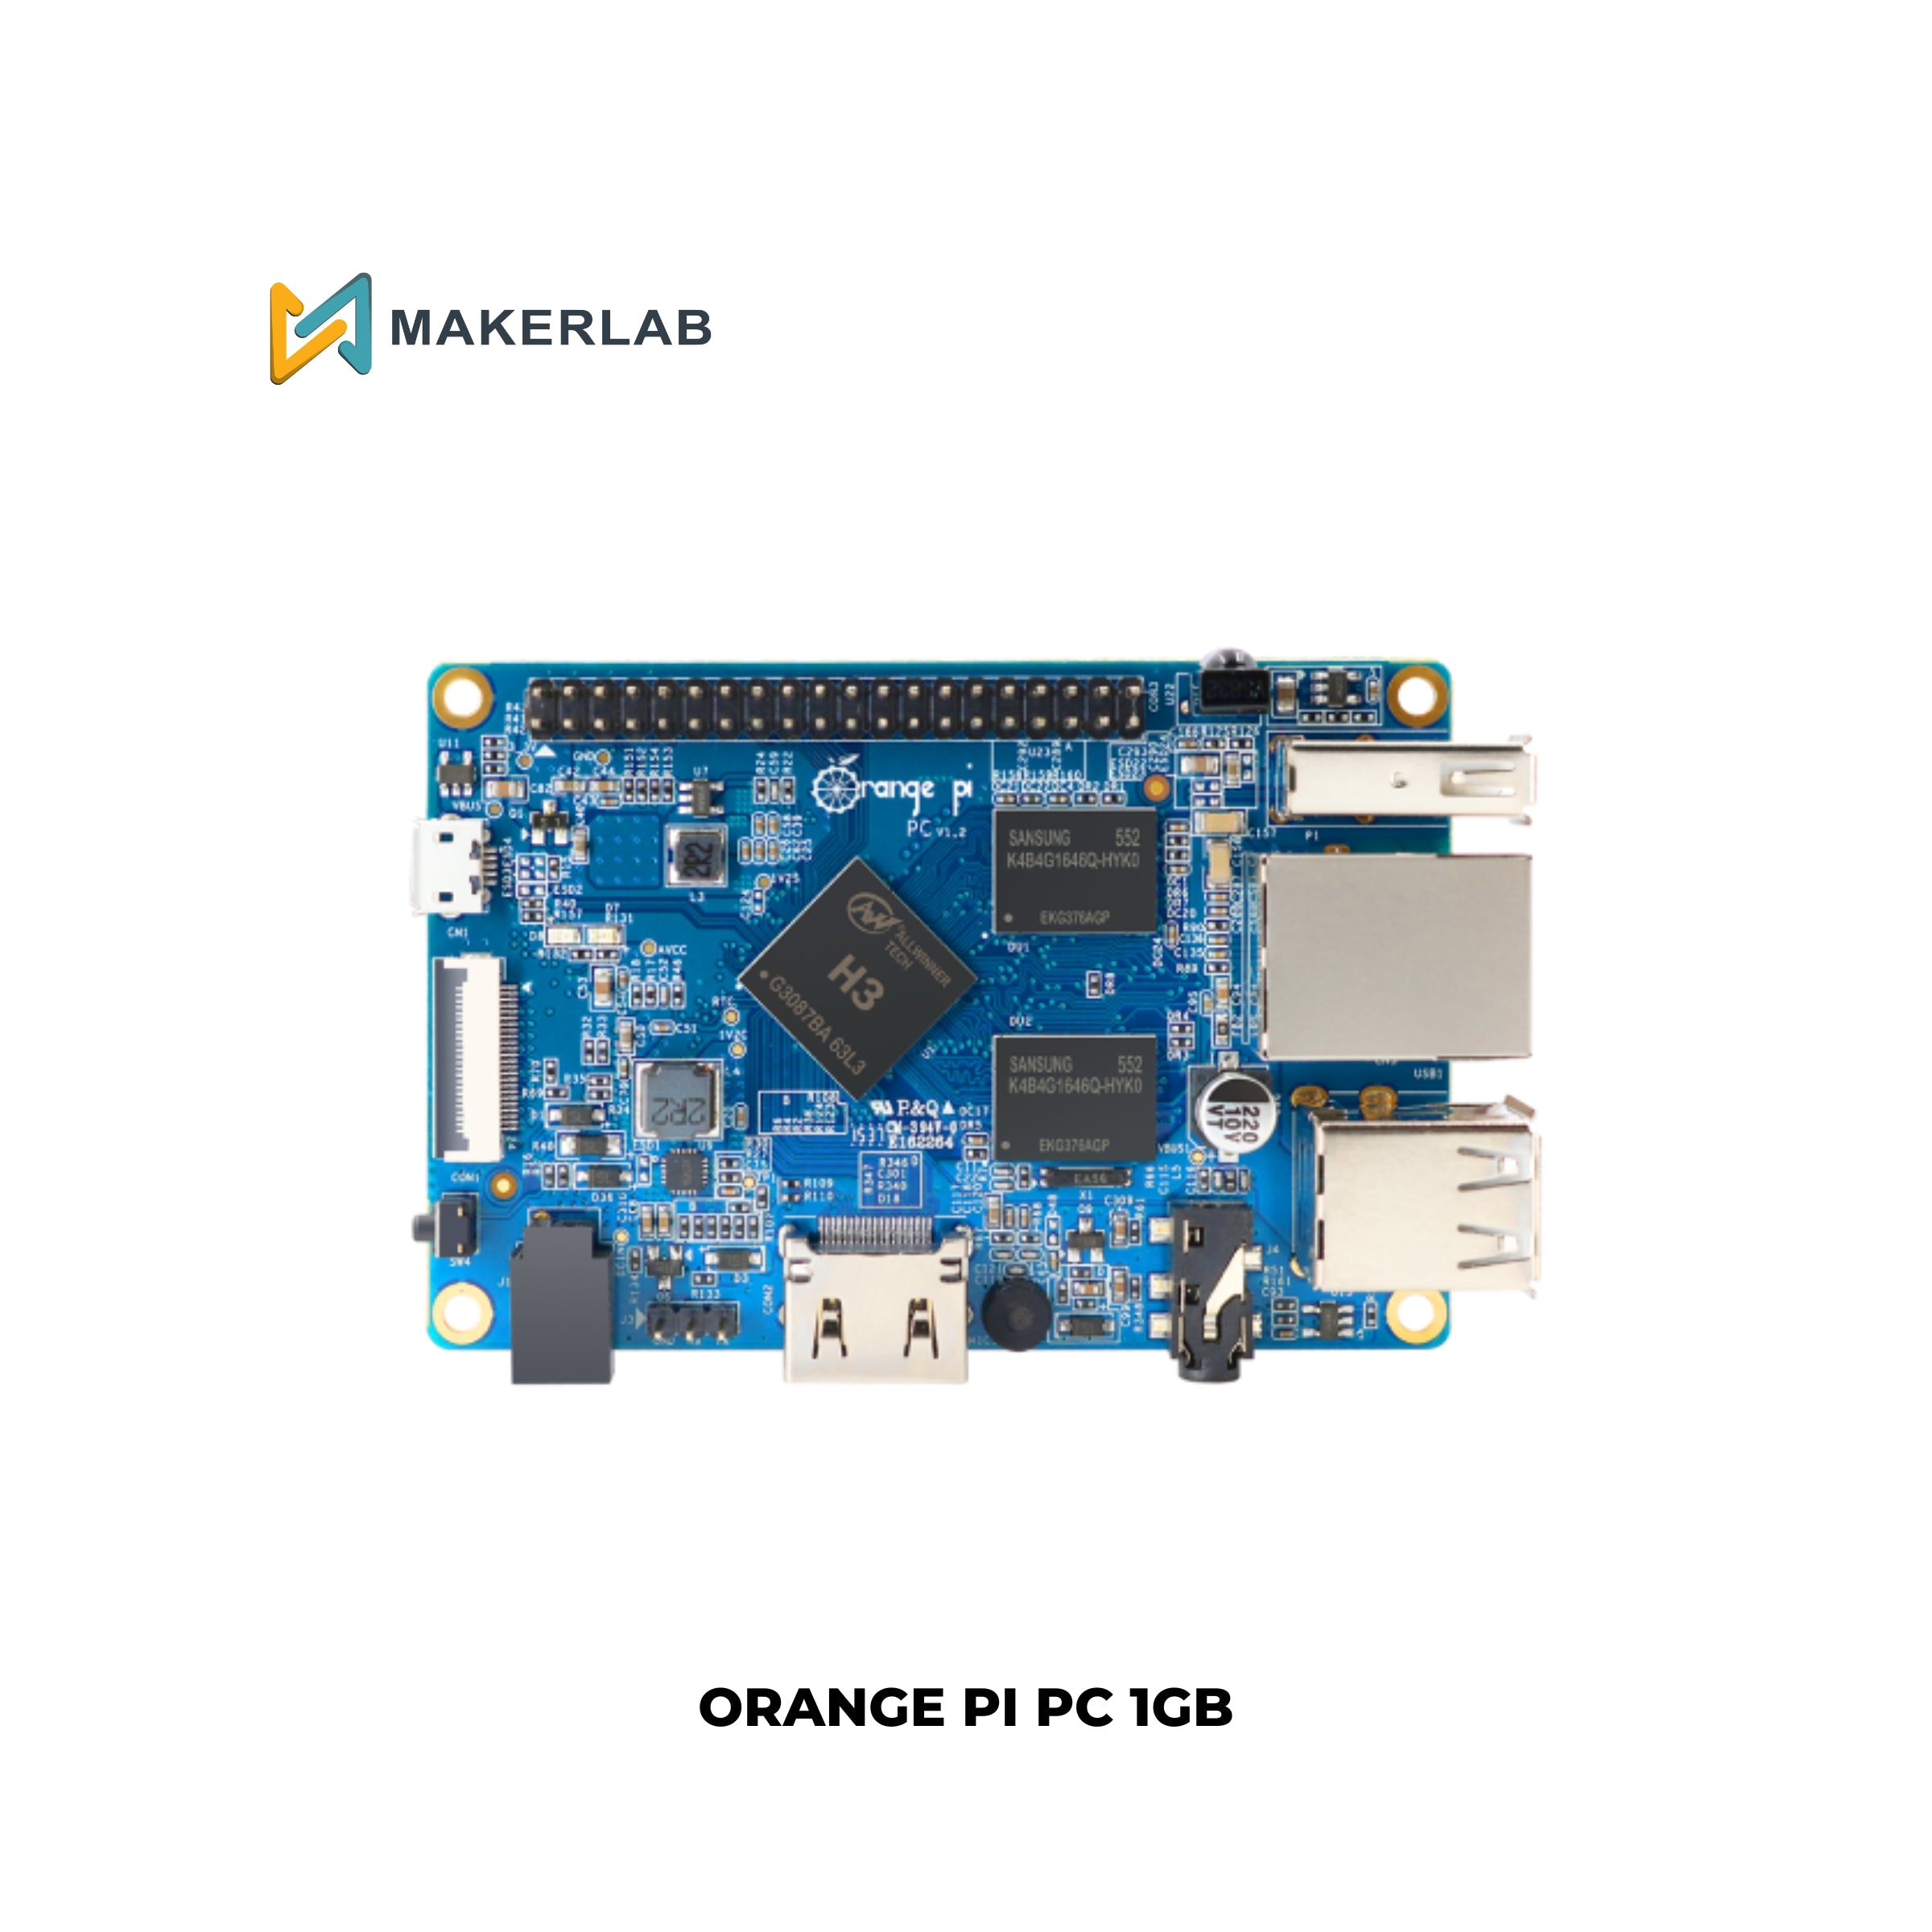
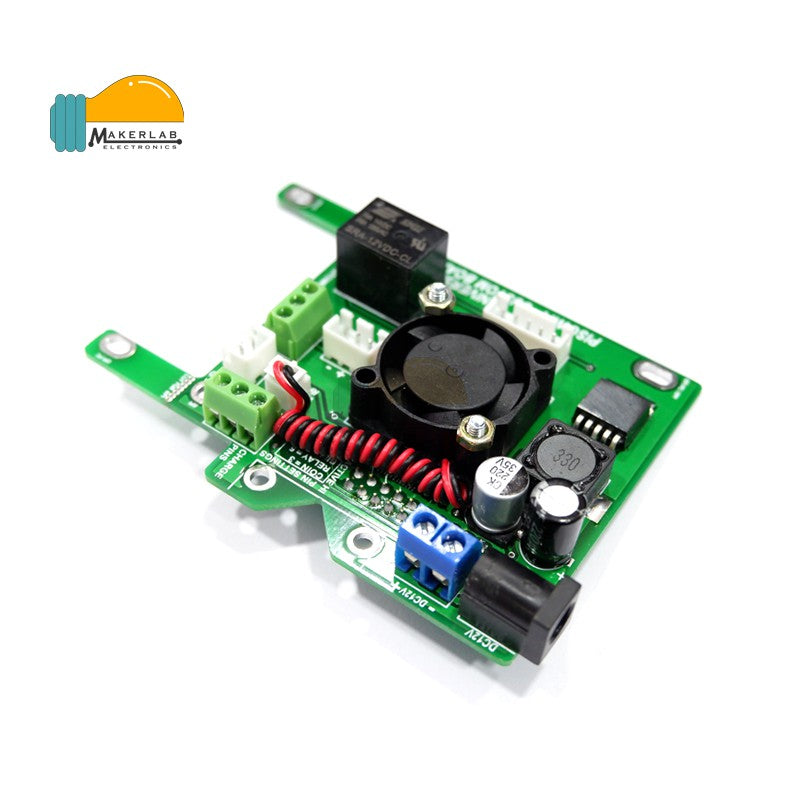
Located at the rear of the Fuxion Universal Custom Board, you'll notice two block connectors accompanied by their respective labels. With our current hardware setup, we will utilize the block connector labeled as "OPI PC/RPI 4/RPI 3." Align the end of the GPIO pins on the custom board with the corresponding end of the block connector.
Warning!
The block connector must be aligned with the right GPIO pins for the Raspberry Pi. Incorrectly placing the block connectors will short and burn the GPIO pins.
III. Connecting the network cables to the Raspberry Pi 4B
Begin by inserting the Ethernet cable into the Gigabit LAN Port of the Raspberry Pi, and then attach the opposite end to the modem provided by your ISP.
Next, connect the USB 3.0 to LAN Adapter to the USB 3.0 Port of the Raspberry Pi. Afterward, connect one end of the Ethernet cable to the USB 3.0 to LAN Adapter, and the remaining end should be connected to your external Access Point.
Preparing the PisoFi OS
The PisoFI OS is one of the most famous management software for Coin-operated Wi-Fi hotspot machines. PisoFI offers a vast amount of features that not only allows you to create a Wi-Fi hotspot machine, but also allows you to create a charging, and even an e-Loading station with a simple interface.
I. Flashing the PisoFi OS
After downloading the prerequisite software, run the Raspberry Pi Imager.

Click Choose OS > Use custom > and locate the download file PisoFI_Rpi4_Update_v4.8.7-01-24-23.
Insert the MicroSD Card to your SD Card Reader and connect the SD card reader to your computer.
Click Choose Storage and select the storage option that corresponds to your MicroSD Card.-gif-Click Write. Flashing may take a while.
II. Powering on the PISO Wi-Fi system
Remove the MicroSD Card to the SD Card Reader and insert it to the Raspberry Pi.
Connect the 12V DC Barrel Jack to the Fuxion Custom Board and turn on the system by shifting the switch position to the left.
III. Initial System Setup
Connect to the Initial Wi-Fi Network named “PisoFI” & Open your preferred Web Browser and open 10.0.0.1/admin
Type in the initial credentials of the PisoFI OS.
Username: administrator
Password: admin12345
Reminder:
Change your PisoFI credentials after setting up your PISO Wi-Fi System to ensure that your system is secure.
Accessing the local PisoFI admin page for the first time will prompt you that the device is not yet registered. Click on the Register Device button and login to your PisoFI Account with the PisoFI License.
Testing the PISO Wi-Fi System
Using your Smartphone, connect to the Wi-Fi Network of your external access point. In our case, we have named our access point “MAKERLAB PISO WIFI”
Tap on “Sign-in to Network” and tap the “Insert Coin” Button. Insert coins to the coin slot to ensure that the system is working properly.
Tap the “GO ONLINE” button and check if your Smartphone gained access to the internet.
If your smartphone has gained access to the internet connection, Congratulations! Your PISO Wi-Fi System is now working properly.
Thank you for engaging with Makerlab Electronics! We hope you found this tutorial helpful and informative. Stay tuned for more exciting tutorials, projects, and insights that we'll be sharing with you in the near future.
Makerlab Electronics ©
2023