
Orange Pi One

Orange Pi PC

Introduction:
In today's digital age, where connectivity is paramount, providing accessible and affordable internet services has become a lucrative venture. The concept of "piso wifi vendo" has emerged as a solution, allowing entrepreneurs to deliver pay-per-use Wi-Fi access in public spaces. In this comprehensive guide, we delve into the world of piso wifi vendo, presenting a detailed walkthrough on how to establish a reliable and cost-effective Wi-Fi hotspot using the versatile and budget-friendly Orange Pi One and Orange Pi PC.
As we explore the intricacies of this entrepreneurial endeavor, we'll cover essential aspects, from understanding the piso wifi vendo business model to the step-by-step setup of Orange Pi boards and the integration of coin-operated mechanisms. Whether you're a tech enthusiast, an aspiring business owner, or simply intrigued by the fusion of technology and connectivity, this guide aims to equip you with the knowledge and insights needed to embark on a successful journey in the world of piso wifi vendo. Join us as we unlock the potential of Orange Pi One and Orange Pi PC in shaping the landscape of accessible internet connectivity.
Goal:
- Hand-holding for Wi-Fi Entrepreneurs:
This guide isn't just about what a piso wifi vendo is, it's about showing you exactly how to build one, step-by-step. With clear instructions and explanations, even newbies can become Wi-Fi hotspot wizards, armed with the practical knowledge to launch their own ventures.
- Orange Pi: Your Budget-Friendly Wi-Fi Ally:
Forget expensive setups, Orange Pi One and Orange Pi PC are here to prove that building a piso wifi vendo doesn't need to break the bank. This guide highlights their affordability and versatility, proving anyone can become a connected entrepreneur with minimal financial hurdle
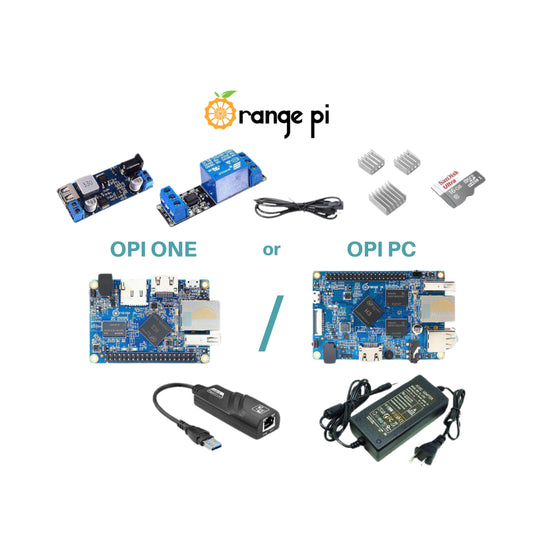
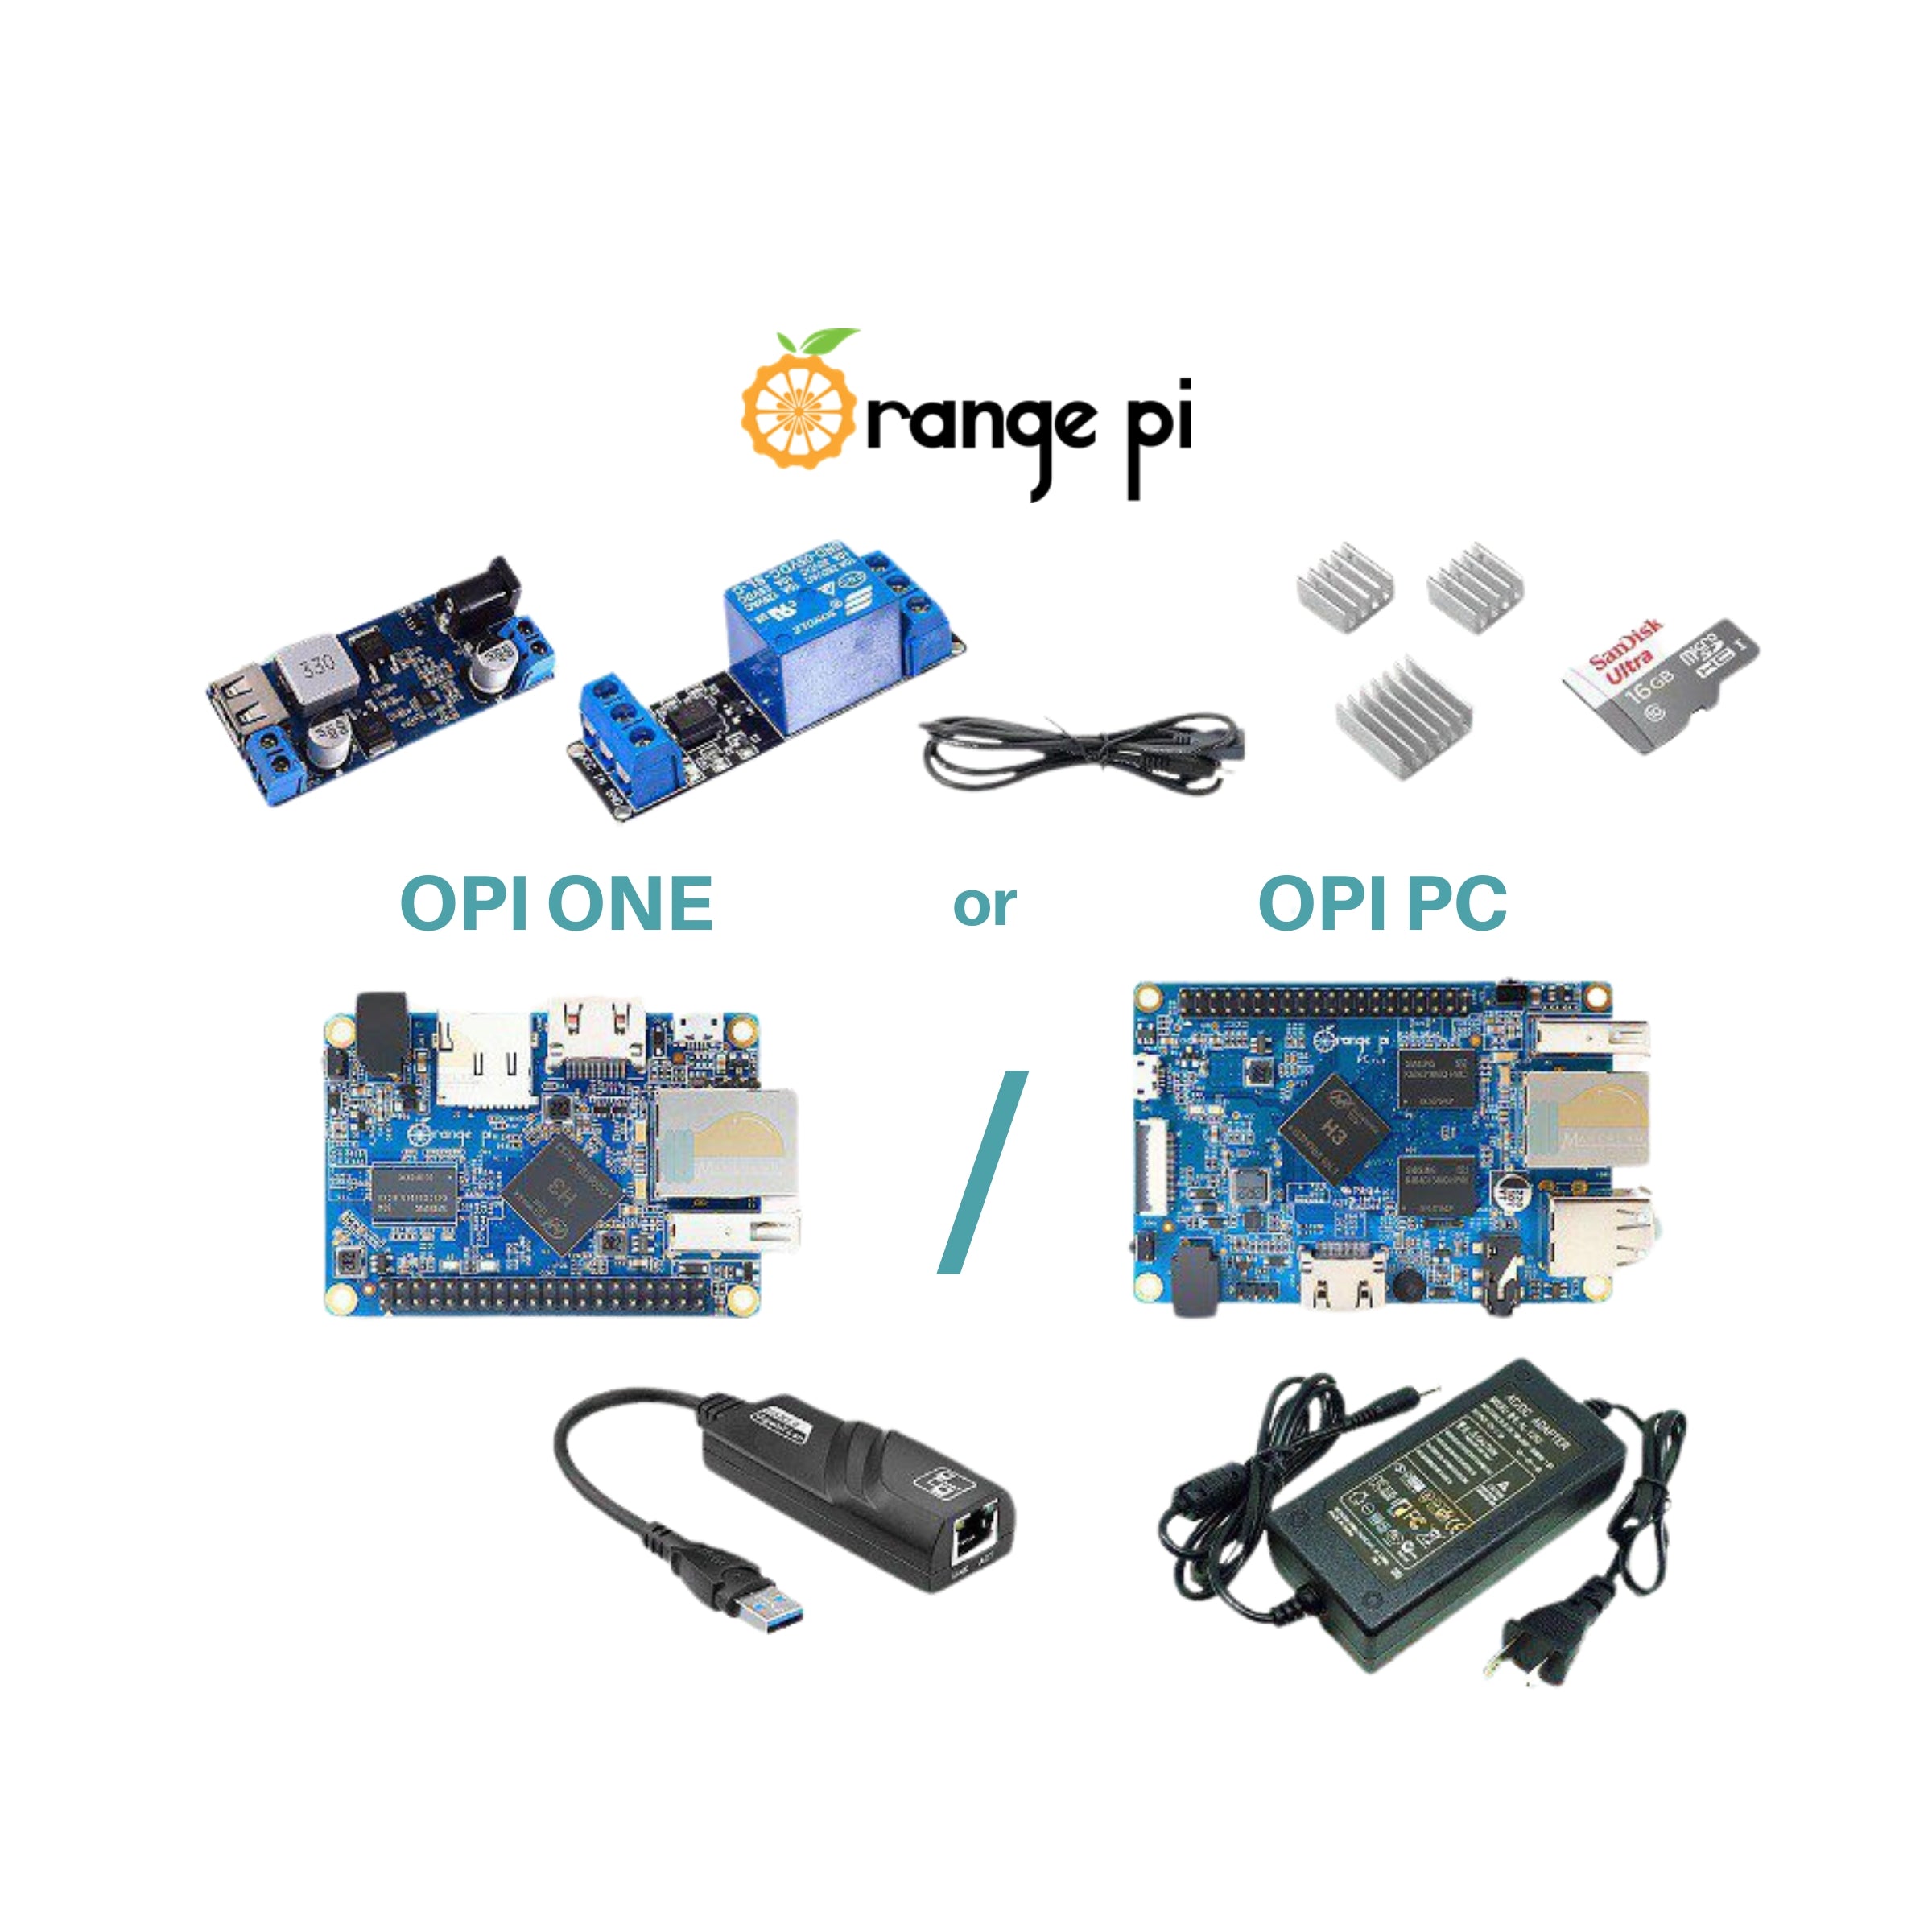
Hardware List
- Orange Pi One
- Orange Pi PC
- Orange Pi Aluminum Heatsink
- ALLAN 1239 Pro Max Coinslot
- 12V 5A Power Supply Adapter
- 16 GB SD Card
- USB to LAN 3.0
- 1 Channel 5v Relay
- HW688 USB 12v to 5V Buck Step Down Converter
- Micro SD Card to USB adaptor reader C286
- 2X CAT5 / CAT6 Ethernet Cable
- LED
- 1k ohm Resistor
- 1N4001 Diode
- LPB License
For ORANGE PI KIT
Software files needed:
LPB OS V15.5 - https://drive.google.com/file/d/1fGu-Bk-7zJwfopFxqGKO8uMSCbTj6H3O/view?usp=sharing
Etcher - https://etcher.balena.io/#download-etcher
WIRING CONNECTION


I. Connecting Coin Slot to Relay:

(Click the pictures to Play the clips)
- 5V (Red wire): Connect the positive terminal of the auxiliary 12V to the HW-688 Buck/Step down Converter.
- Ground (Black wire): Connect the auxiliary 12V on the HW-688 Buck/Step down Converter.

- Signal pin (White wire): Connect 1N4001 Diode.


- Top Pin of the SET Pin: Connect to the NC Terminal of the relay.


II. Wiring for Orange Pi:
- Relay GND terminal: Connect to the GND pin of the Orange Pi.
- Relay IN terminal: Connect to pin 5 on the Orange Pi.
- Relay VCC terminal: Connect to the 5V pin of the Orange Pi.
- Coin Slot signal pin connect to pin 3


III. Wiring Green LED (Insert Coin Indicator):
- Connect the positive side (long pin) of the LED to a 1k ohm resistor and then to the positive terminal of the auxiliary 12V on the HW-688 Buck Stepdown Converter.

- Connect the negative side (short pin) of the LED to the NO terminal of the relay.

- Connect the positive side (long pin) of the LED to a 1k ohm resistor and then to the positive terminal of the auxiliary 12V on the HW-688 Buck Stepdown Converter.

- Connect the negative side (short pin) of the LED to the negative terminal of the auxiliary 12V on the HW-688 Buck Stepdown Converter.

- Connect the negative terminal of the auxiliary 12V on the HW-688 Buck/Step down Converter to the “C” (Common) terminal.

- Connect the PSU (12V 5A) to the barrel jack port of the buck converter.
- Connect the power cable of the Orange Pi to the USB port of the buck converter.
- Connect the power cable barrel jack of the Orange Pi to the barrel jack port of the Orange Pi.

VI. Network and Data Connections:
- Connect the USB to LAN 3.0 to the USB port of the Orange Pi.
- Connect the Ethernet cable to the Ethernet port of the Orange Pi.

Flashing the LPB License
- Open balenaEtcher
- Click the flash from file
- Locate and Choose “V15.5-LPBPisoWifiV2OrangePi Release-v15.5.zip”
- Insert MicroSD Card
- Click the select target and choose your MicroSD Card location.
- Click Flash!
- Flashing may take a while. Please wait.
Powering on the the System
- Remove MicroSD Card to the computer
- Plug the 12v power supply in the outlet
- Connect to Piso Wifi network
How to access the Admin Portal:
- Open the browser and type the 10.0.0.1/admin
- Enter the Username and Password and click Sign In
- Default Username - admin
- Default Password - 123456789
- You will be logged in to the LPB Piso Wifi Dashboard
How to activate LPB Piso Wifi License Key
- Buy LPB license
- Access the admin portal by logging in with your credentials
- Find the “License” or “License settings”
- Input the license key
- Click “Save” or “Activate”
How to access the Piso Wifi Portal
- Open the browser and type the 10.0.0.1
- Click the Insert Money
- Insert Coin to the coinslot
- Click Done paying